Creating your own high-performance crucible using Silicon Carbide (SiC) can be a rewarding project for those involved in high-temperature metalworking, casting, or scientific experiments that require precise heat management. Silicon carbide crucibles are known for their excellent thermal conductivity, resistance to thermal shock, and ability to withstand extreme temperatures, making them a top choice for many industrial applications. In this article, we will walk through the process of making a Silicon Carbide crucible step-by-step, covering materials, techniques, safety considerations, and troubleshooting tips to ensure you build a functional and durable crucible for your needs.
Introduction to Silicon Carbide Crucibles
Silicon carbide is a compound of silicon and carbon that possesses extraordinary strength, hardness, and high thermal stability. These properties make SiC crucibles ideal for melting a wide variety of metals, including aluminum, copper, gold, silver, and even more demanding materials like brass and steel. While commercial crucibles can be quite expensive, making your own SiC crucible is a cost-effective way to access the high performance benefits of this material.
By crafting your own crucible, you also have the advantage of customizing its size and shape to suit your specific needs, whether you’re working in a small-scale metal foundry, performing laboratory experiments, or creating intricate metal castings for artistic or industrial purposes.
Materials Needed for the Project
To make your own Silicon Carbide crucible, you will need a variety of materials and tools. Some of these are easily accessible, while others may require specialized suppliers. Below is a detailed list of the materials needed for this DIY project:
1. Silicon Carbide Powder
Silicon carbide powder is the main material used for the crucible. You can purchase it in varying grades, from coarse to fine. Finer powder creates a smoother surface but may require additional binders or additives to ensure proper molding.
2. Clay Binder
A high-quality clay binder, such as kaolin, is essential for binding the SiC powder and providing the necessary workability. This binder helps the particles hold together during shaping and prevents cracking during the drying and firing process.
3. Graphite Powder
Graphite is added to the mix to improve the crucible’s thermal conductivity and reduce the likelihood of thermal shock. It also contributes to a smoother finish and makes it easier to remove the crucible from its mold.
4. Water
Water is needed to hydrate the clay binder and form a workable paste with the powder. It also helps achieve the right consistency for molding and shaping the crucible.
5. Mold (Optional)
If you don’t want to shape the crucible by hand, you can use a pre-made mold or create one yourself from metal or sand. The mold should be able to withstand high temperatures.
6. Protective Equipment
Handling high-temperature materials requires proper safety gear. Ensure you have gloves, safety glasses, and a respirator to avoid inhaling dust or fumes from the materials.
7. High-Temperature Furnace or Kiln
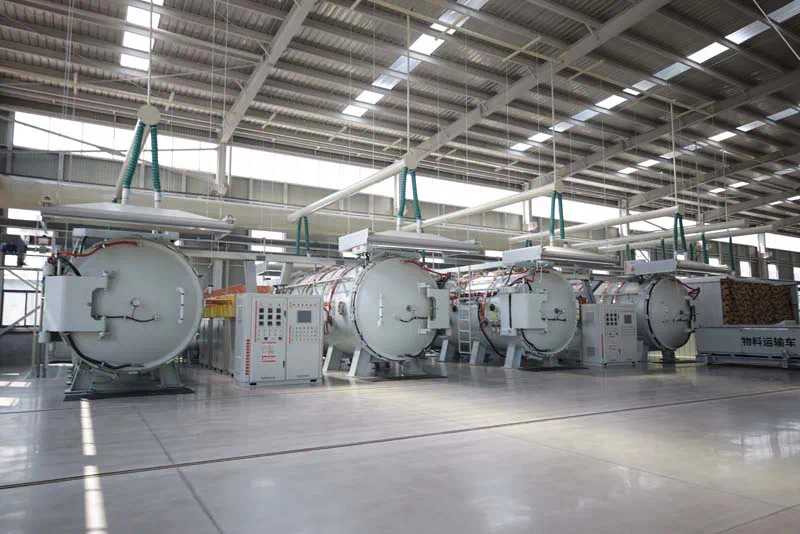
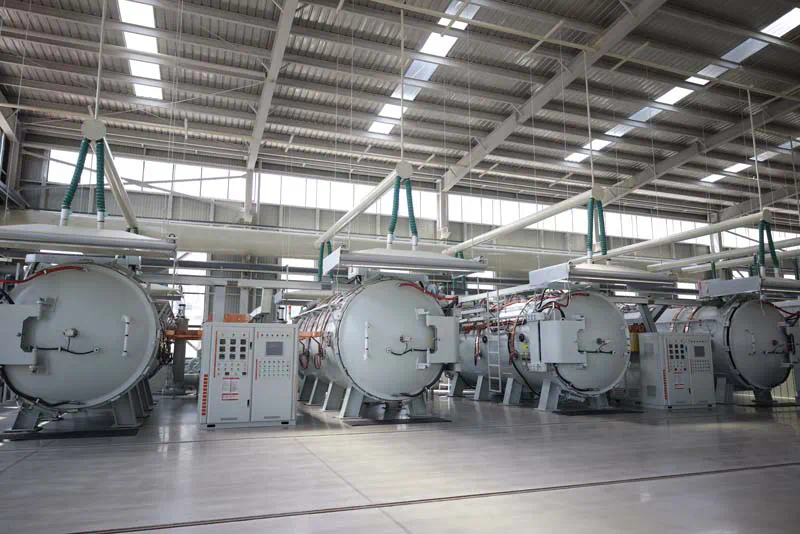
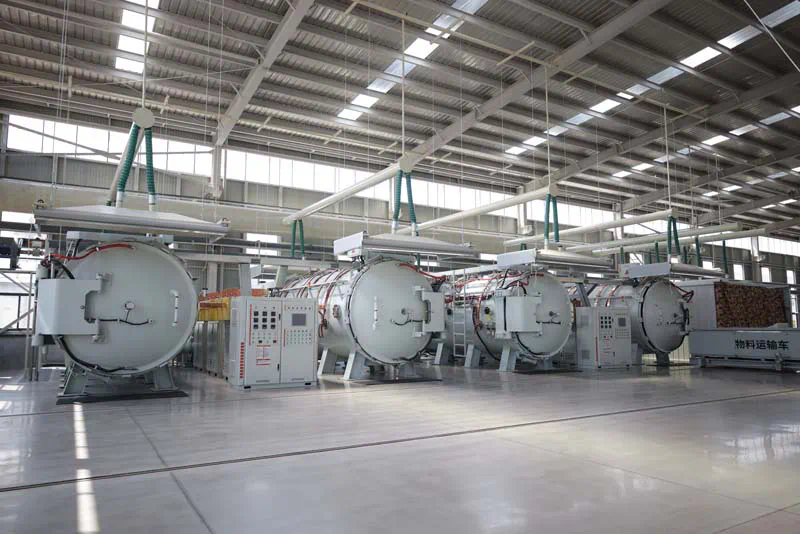
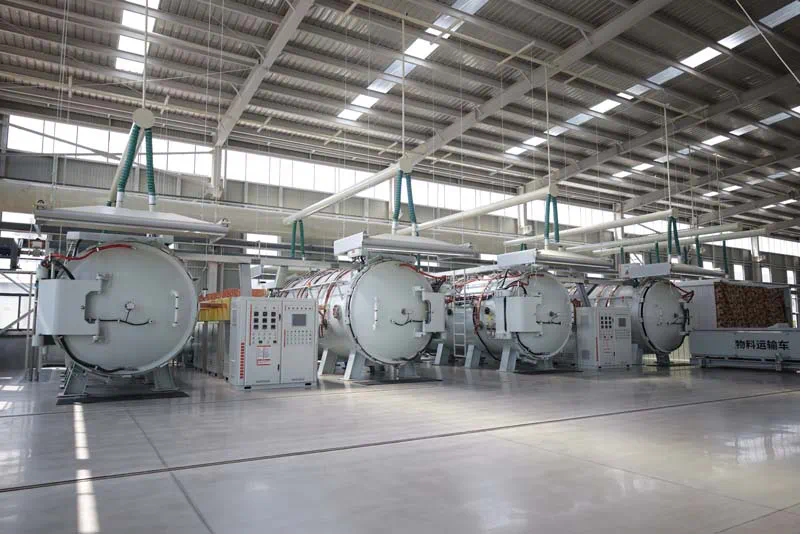
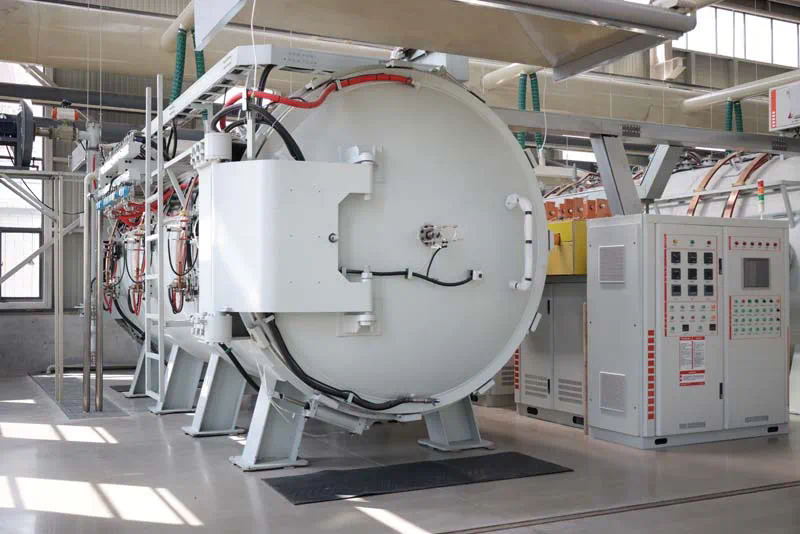
To fire the crucible, you’ll need a furnace or kiln capable of reaching temperatures of at least 1600°C (2900°F). The firing process is crucial to curing the material and giving the crucible its final strength and durability.
Step-by-Step Guide to Making a Silicon Carbide Crucible
Step 1: Preparing the Materials
Begin by gathering all of your materials. If you’re working with silicon carbide powder, it’s important to choose the right grade depending on your needs. A finer powder will be smoother but might require a more complex mixing process. The ratio of silicon carbide to clay binder is typically 80:20 by weight, but this can vary depending on the specific formulation you are using. Mix the silicon carbide powder and clay binder together in a large mixing bowl, ensuring they are evenly distributed. Add graphite powder in small increments (about 5-10% by weight) to help with the thermal conductivity and reduce cracking.
Next, slowly add water to the mix while stirring. The goal is to achieve a paste-like consistency that is easy to mold but not too wet. You want the material to hold its shape but remain pliable for easier manipulation.
Step 2: Molding the Crucible
At this point, the mixture should be ready for molding. You can either mold the crucible by hand or use a pre-made mold. For a simple DIY project, you can use a cylindrical form like a PVC pipe or an old metal container to shape the crucible.
If you are making the crucible by hand, start by rolling the paste into a cylinder or other shape, depending on your preference. Work the material by pressing it firmly to eliminate air pockets, which could lead to cracking during the firing process. Ensure that the base and walls are of uniform thickness, typically around 1-2 cm for small crucibles. Thicker walls may be needed for larger crucibles, but this will require more firing time.
For a smoother surface, you can use a damp cloth to gently smooth out any rough spots. Allow the crucible to dry for several hours, but do not let it dry completely at this stage. It should still be slightly damp to retain its flexibility when you remove it from the mold.
Step 3: Drying and Setting the Shape
Once the crucible is shaped, it needs to dry slowly to avoid cracking. Place it in a cool, dry location away from direct sunlight, as rapid drying can cause warping or cracking. Let the crucible sit for 12-24 hours depending on the humidity and temperature of your environment. Check the material periodically to ensure it is drying evenly.
As the mixture starts to set, the shape of the crucible will solidify. Be sure to inspect it carefully for any imperfections, cracks, or holes. If you notice any issues, you can repair them by adding additional paste and smoothing the surface.
Step 4: Firing the Crucible
Firing is one of the most critical steps in the crucible-making process, as it transforms the raw mixture into a durable, heat-resistant material. The crucible should be placed in a furnace or kiln capable of reaching temperatures between 1600°C to 2000°C (2900°F to 3600°F). The exact temperature will depend on the type of metal or material you intend to use the crucible for.
Begin by heating the furnace gradually to avoid thermal shock. A slow ramp-up process ensures that the crucible does not crack due to rapid temperature changes. The crucible should be fired for at least 4-6 hours, depending on the thickness and size. After firing, allow the crucible to cool down slowly inside the furnace before removing it.
Step 5: Testing the Crucible
Once the crucible has cooled and solidified, it is ready for testing. Before using it for metalworking or casting, it is important to test its structural integrity and thermal performance. Carefully inspect the crucible for any cracks or damage. If it holds up well during the test, you can use it in your projects.
If you’re planning to use the crucible for melting metals, it’s essential to perform a few heat cycles before its first use. This helps to acclimate the crucible to the high temperatures and ensures it won’t fail under load.
Troubleshooting Common Problems
During the process of making your Silicon Carbide crucible, you may encounter a few issues. Here are some common problems and potential solutions:
1. Cracking During Drying or Firing:
– Solution: Cracking can occur if the crucible dries too quickly or if there are air pockets in the material. Ensure that the mixture is well-mixed and free from excess moisture. Gradually dry the crucible to allow for even moisture distribution.
2. Warping or Uneven Shape:
– Solution: This can happen if the crucible isn’t molded evenly or if the drying process is not uniform. When shaping by hand, work carefully to ensure consistent thickness. Use a mold to achieve a more uniform result.
3. Inadequate Thermal Performance:
– Solution: If the crucible fails to withstand the heat required for silicon carbide crucible australia metal melting, consider adding more graphite or increasing the amount of silicon carbide in the mix. You can also fire the crucible at a higher temperature to improve its heat resistance.
Conclusion
Building your own Silicon Carbide crucible is a challenging but rewarding project that can significantly enhance your ability to work with high-temperature materials. By following the steps outlined in this guide, you will be able to create a durable, high-performance crucible that can withstand extreme temperatures, offer excellent thermal conductivity, and provide years of service for your metalworking or scientific endeavors.
Whether you’re crafting for artistic purposes, performing industrial casting, or conducting scientific experiments, a homemade SiC crucible gives you the flexibility and control over the materials you work with. With the right materials, techniques, and patience, you’ll have a custom-made crucible that can handle even the toughest jobs.
https://smartfactoryinsights.com/
