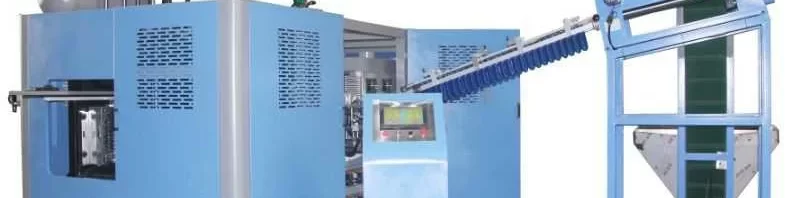
Quickly Changing the Mouth Mold of a Blow Molding Machine
The mouth mold is a critical component of a blow molding machine. It is responsible for shaping and forming the plastic material into the desired container shape. In manufacturing operations, it is often necessary to change the mouth mold to accommodate different container designs or sizes. This article will guide you through the process of quickly changing the mouth mold of a blow molding machine, ensuring a smooth and efficient production workflow.
1. Preparing for the Mold Change
Before performing any maintenance or mold change procedures, it is crucial to ensure the blow molding machine is switched off and all power sources are disconnected. Safety should always be the top priority in any manufacturing operation. Once the machine is safely shut down, follow these steps to prepare for the mold change:
Step 1: Clear the work area around the machine, removing any unnecessary tools, materials, or debris that could hinder the mold change process.
Step 2: Gather the necessary tools for the mold change, which typically include wrenches, screwdrivers, and lifting equipment if required. Ensure all tools are in good condition and readily available.
Step 3: Review the manufacturer’s instructions for changing the mouth mold. Familiarize yourself with the specific steps and precautions outlined in the manual for your particular blow molding machine model.
2. Removing the Existing Mouth Mold
With the preparation complete, it’s time to remove the existing mouth mold from the blow molding machine. Follow these steps:
Step 1: Locate the securing bolts or clamps that hold the mouth mold in place. Depending on the machine design, there may be multiple bolts or clamps to remove.
Step 2: Using the appropriate tools, carefully loosen and remove the securing bolts or clamps. Be cautious not to damage any surrounding components. If necessary, enlist the help of lifting equipment to support the weight of the mold during removal.
Step 3: Once all securing bolts or clamps are removed, gently lift the existing mouth mold assembly out of the machine. Take care to avoid any sudden movements or excessive force that could cause damage to the mold or the machine.
3. Installing the New Mouth Mold
With the old mold safely removed, it’s time to install the new mouth mold. Follow these steps:
Step 1: Carefully position the new mouth mold assembly into the designated slot or cavity within the blow molding machine. Ensure that it aligns correctly with the other machine components.
Step 2: Secure the new mouth mold in place using the appropriate bolts or clamps. Tighten them securely, but avoid over-tightening, as it may cause unnecessary stress on the mold or the machine.
Step 3: Double-check the alignment and positioning of the new mouth mold to ensure it is correctly seated within the machine. Confirm that it does not interfere with any other moving parts or components.
Following these steps, you can quickly and efficiently change the mouth mold of a blow molding machine. Remember to always prioritize safety and refer to the manufacturer’s guidelines for specific instructions related to your machine model. By performing regular mold changes when necessary, you can facilitate seamless production transitions and expand the versatility of your blow molding operations.
.webp "How to quickly change the mouth mold of blow molding machine")